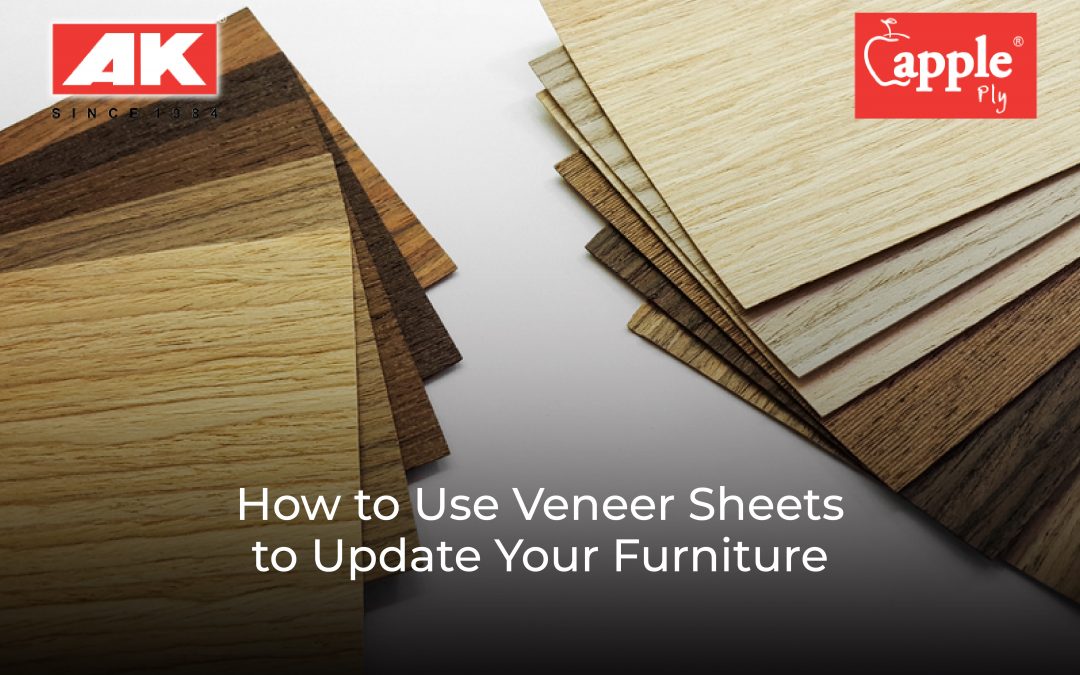
A veneer sheet is a thin layer of wood that can be added to the surface of existing furniture to give it the appearance of solid wood. Using veneer sheets for furniture restoration is a fantastic way to make your old pieces feel fresh and new. It helps give your furniture a modern and updated look while taking care of the years of wear and tear they have accumulated.
In this blog, we’ll explore how you can use veneer sheets to update your furniture. Let’s get started.
Why Use Veneer Sheets?
Over time, furniture can lose its shine and finish, requiring a makeover. This can make your room look dull, outdated, and distasteful. This is why wood refinishing is crucial, as it can help restore your furniture in a chic and elegant way.
Wood furnishings and veneers elevate the appearance of your home by giving your furniture a genuine wood aesthetic and feel. The wood aesthetic is highly popular and sought after and can make your room appear very visually attractive.
Moreover, you can update your home’s furniture without spending a small fortune on buying new products. This proves to be an easy and cost-efficient solution to modernizing your house and impressing your guests.
How To Use Veneer Sheets to Update Your Furniture?
Let’s explore the process of how to update your furniture at home using veneer sheets.
1. Prepare the Surface
Clean and gently sand the surface you wish to apply the veneer to so that any grim or dirt is removed before you apply the veneer. Sanding the surface also makes it slightly rough in texture, which is better for adhesion.
2. Applying the Veneer
After preparing the surface, measure and cut the veneer sheets according to the size of the area that you need to be covered. Be very meticulous when you do this, but remember to leave the veneer slightly larger. This will be helpful later on.
Then, align the veneer with the furniture and stick it using wood glue. You can use an iron to heat and press the veneer onto the surface delicately. Ensure there are no bubbles or wrinkles as you go along.
You even get pre-glued veneers now, which makes things easier, but that would require smoothing using a roller.
3. Trim the Excess Veneer
You can trim the overhang using a veneer saw to carefully slice off the excess veneer according to the shape and contours of the furniture. This is a better approach than trying to stick the veneer with exact measurements, as that can be quite difficult.
Moreover, one wrong move or a slight misalignment can ruin the entire aesthetic, making the furniture look awkward. You can even choose to apply veneer edge-banding to create a more polished feel for your furniture edges after applying the veneer.
4. Sanding Down and Applying A Finish
To complete the furniture restoration with veneer, finish the process by sanding down all sides to dull the edges and remove rough spots. Then, apply your desired finish to the veneer, like a coat of paint or varnish. This will not only help protect the veneer but also enhance its appearance.
Once everything is done, let it dry according to how long it says on the packaging.
Also Read : Choosing the Right Veneer Sheets: 4 Expert Tips
Want to Update Your Furniture to Make It Look Modern? AK Apple Ply is Here for You!
Remember, using veneer sheets to update your furniture involves a professional level of attention to detail and precision. Ensure that the sheet is aligned to your measurements, properly glued, and then trimmed for best finish.
If you wish to buy veneers to transform your house into a dream home with visually stunning furniture, visit AK Apple Ply. With a variety of options, we have all the resources you need to update your furniture.


